Text and Images
Add Card: Within the module's content card
Creating a Content Card
- Add Card: Within the module's content card builder, locate the "Add Card" button. Click on it to initiate the card creation process.
- Select Content Card: Choose the "Content Card" option from the available card types.
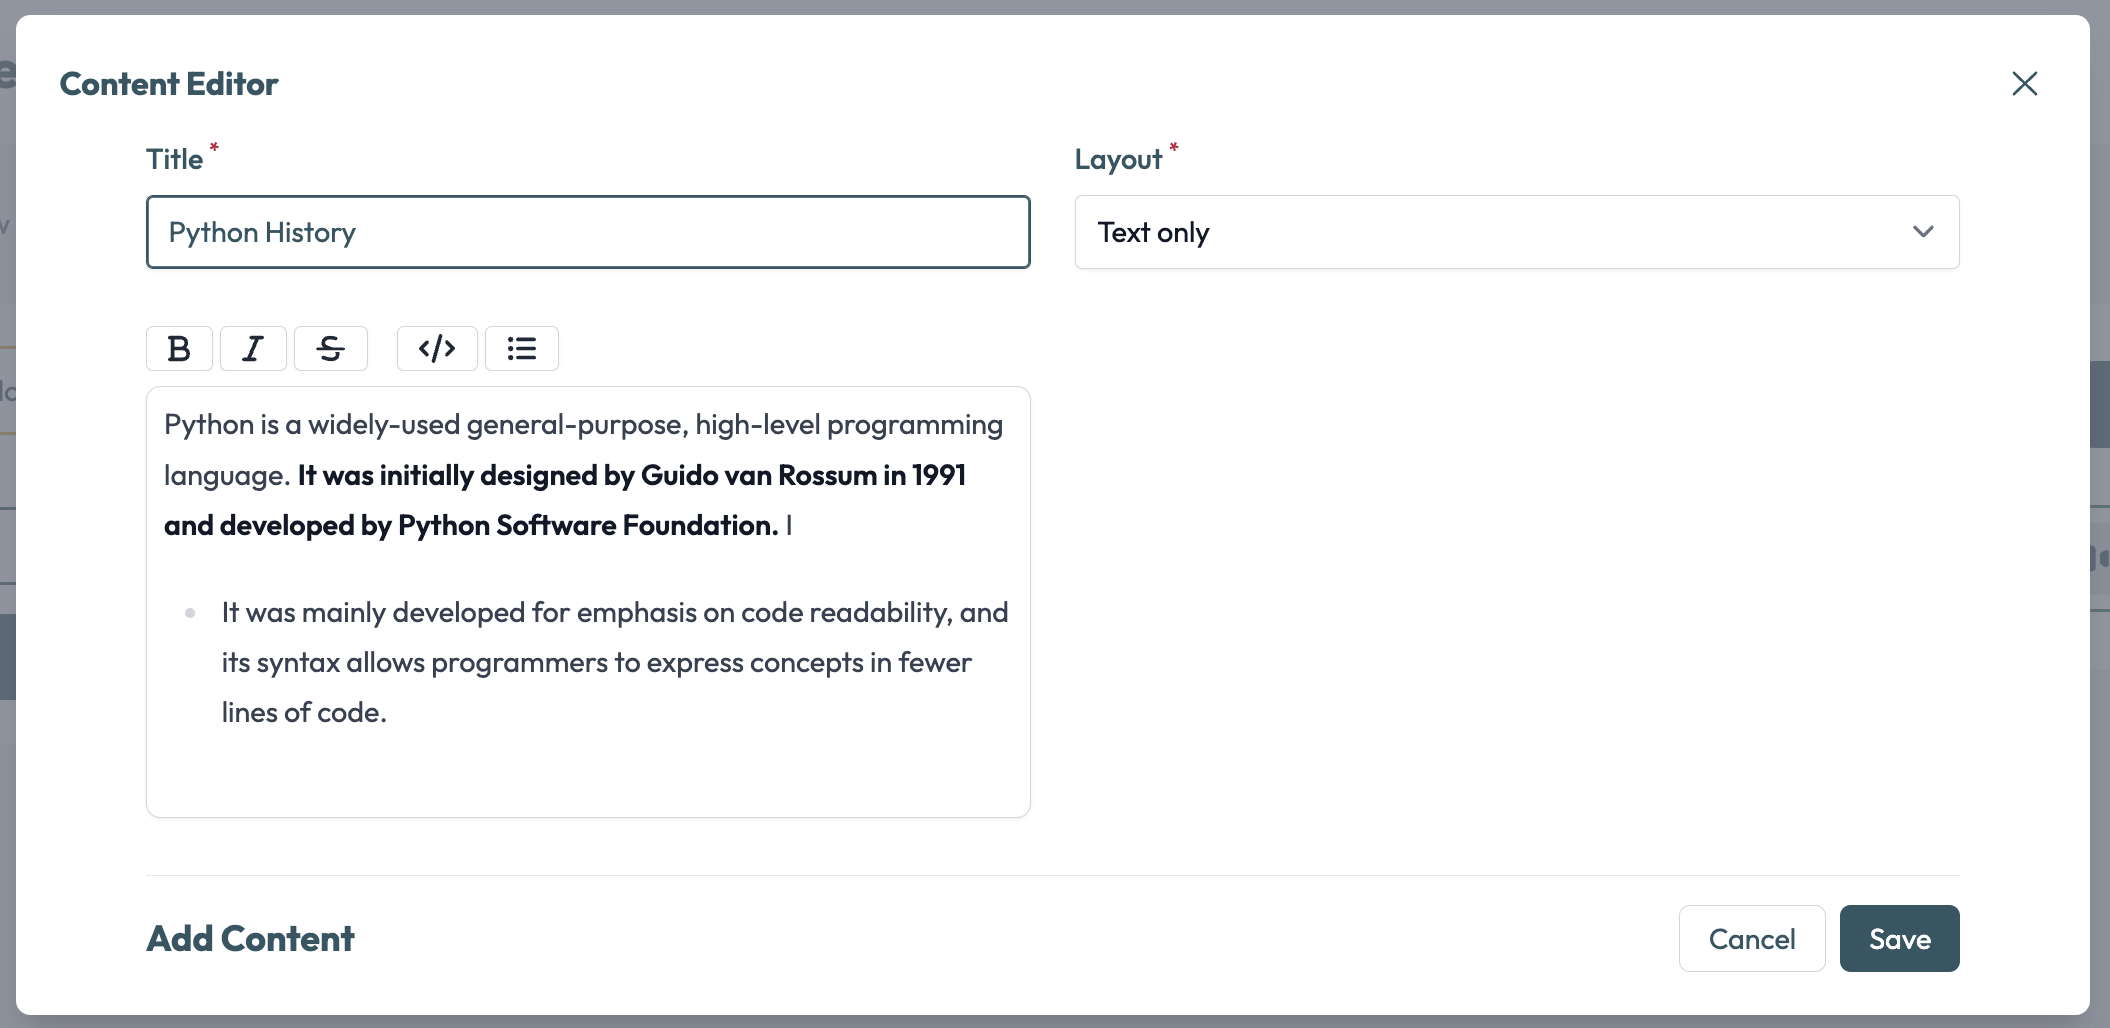
- Card Configuration: In the content card editor, you'll have two main components: image and text.
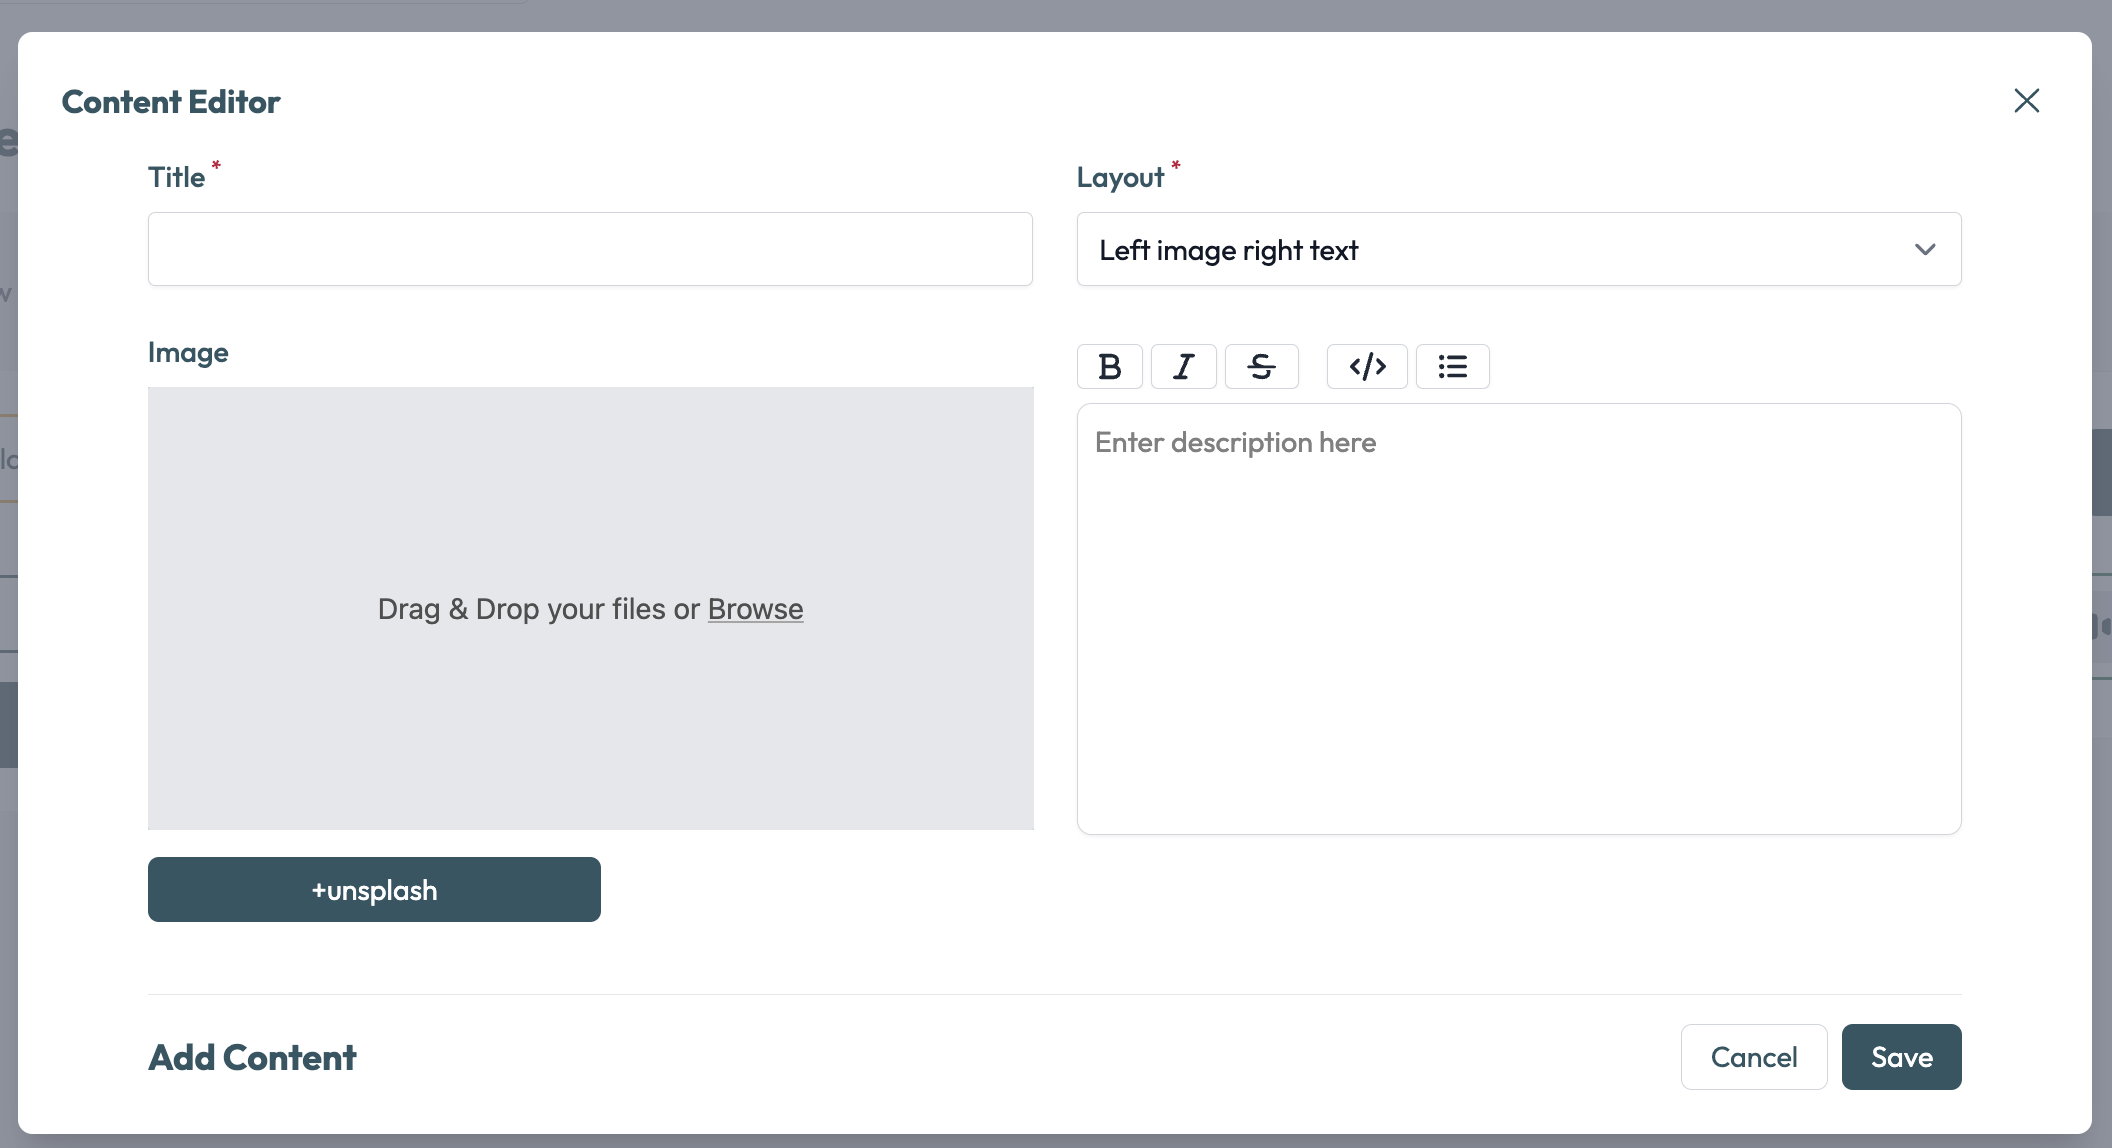
Adding an Image:
- Upload Image: Click on the "Upload Image" button and select an image file from your device to upload.
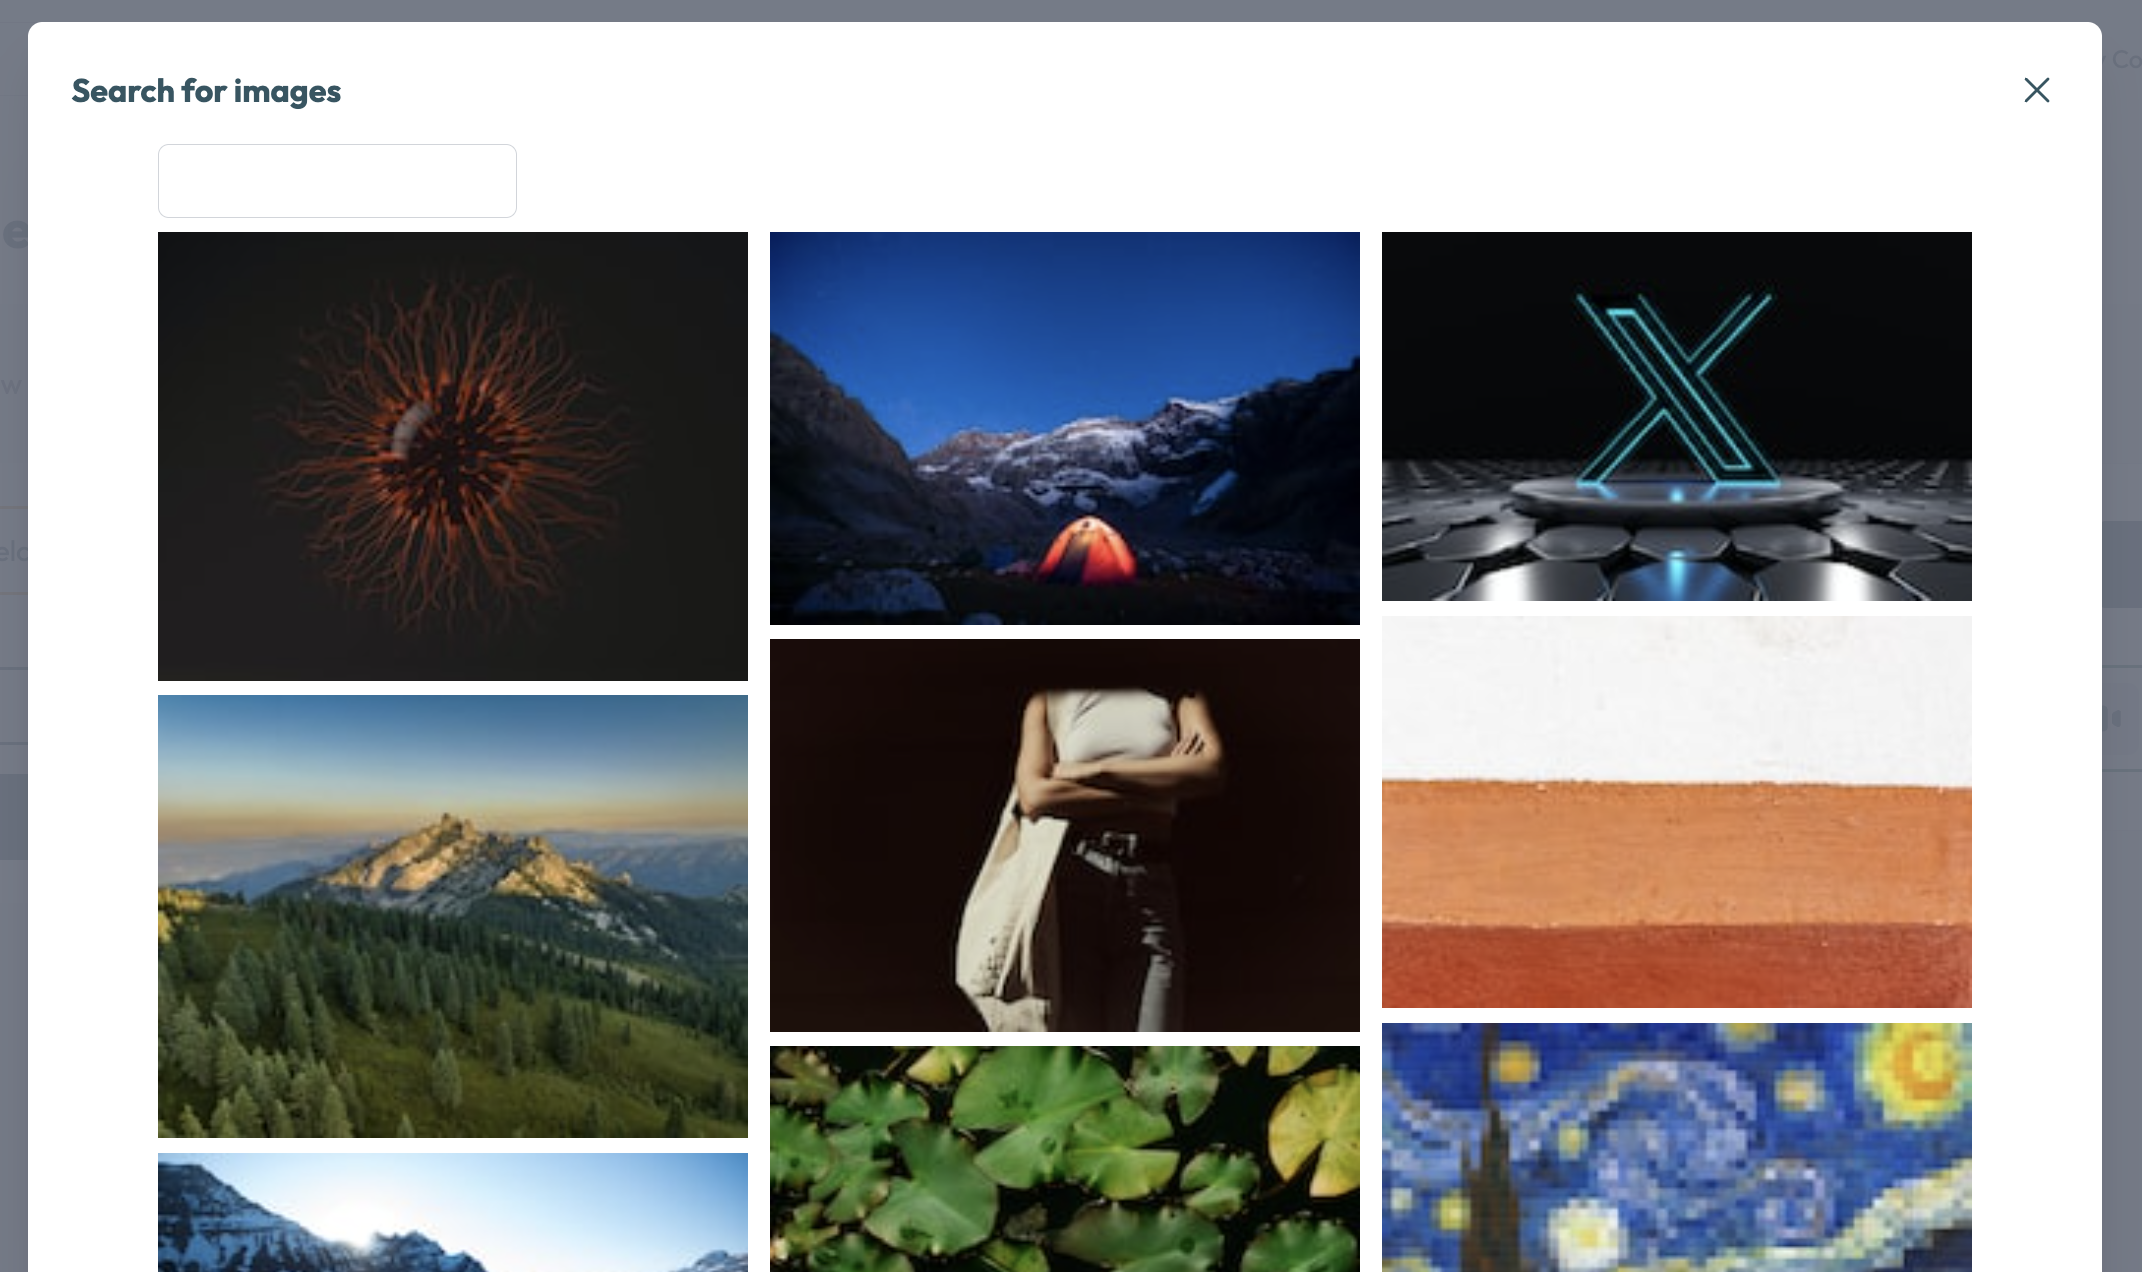
- Search Unsplash: Alternatively, you can search for images on Unsplash by clicking the "Search Unsplash" button. This opens a gallery of high-quality images to choose from.
Adding Formatted Text:
- Text Editor: Below the image section, you'll find a rich text editor where you can input and format your text content.
- Formatting Options: Use the formatting options to apply headings, bold, italic, lists, and more to your text.
- Content Alignment: Depending on your platform's features, you might be able to align your content to the left, center, or right.
- Insert Links: Insert hyperlinks to relevant external resources or internal course content within the formatted text.
Preview and Save:
- Preview: Take advantage of any preview option available to see how your content card will appear to learners.
- Save Card: Once you're satisfied with the image and text content, click the "Save" or "Add Card" button to add the content card to the module.