Managing Categories
The Category Manager in the Settings page of Aptree allows administrators to efficiently organize content by creating, editing, and deleting categories. Categories provide a structured way to group and navigate through the content available on the platform.
Accessing Category Manager
- Login: Sign in to your Aptree admin account using your credentials.
- Access Settings: Navigate to the "Settings" or "Configuration" section. Locate "Category Manager" in the settings page

Managing Categories
Creating a New Category:
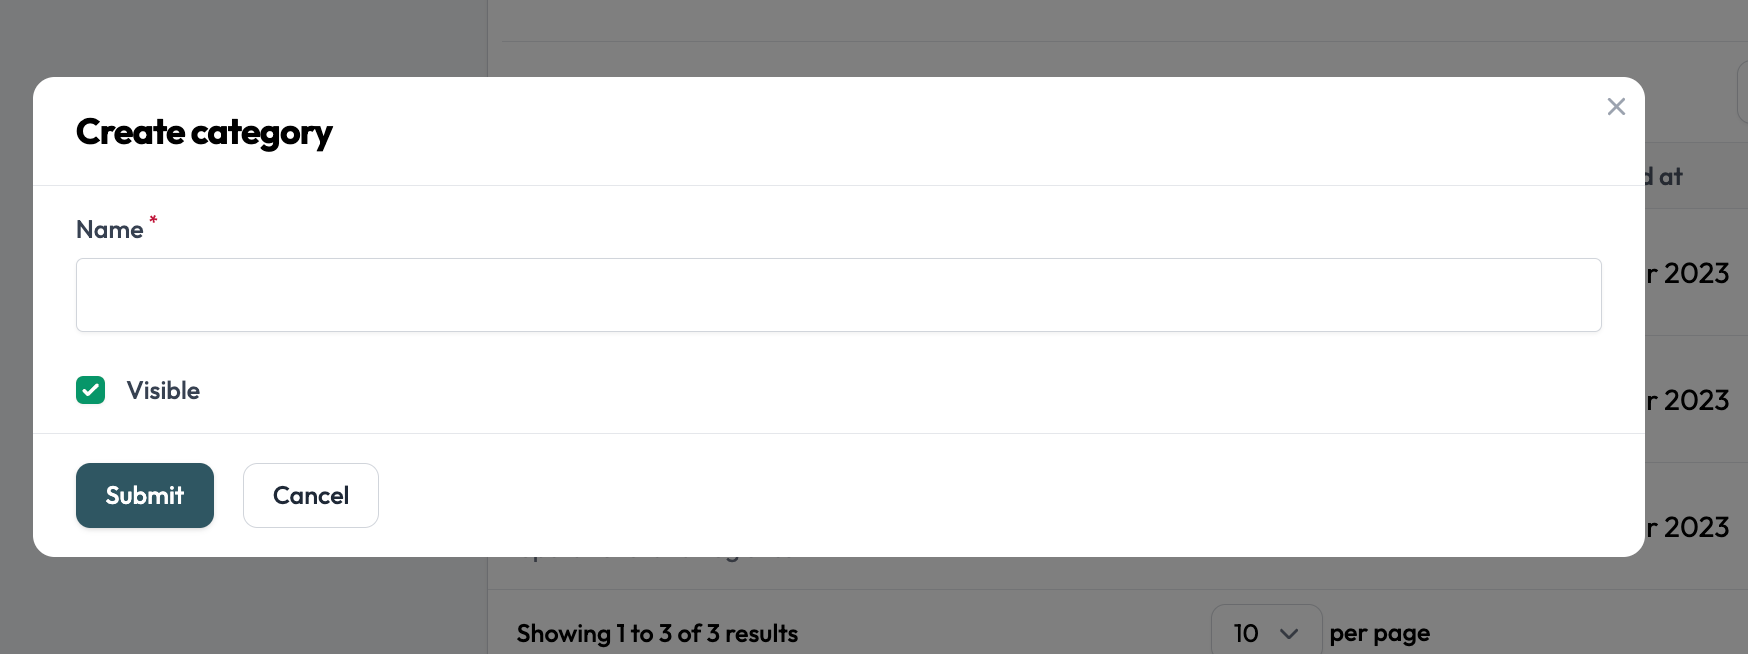
- Initiating Category Creation: Look for "Create Category" Click on it to start creating a new category.
Category Details: Provide a category name, and if you are ready to publish this category and make it available mark it as "visible"
Save Category: After entering the necessary details, save the new category.
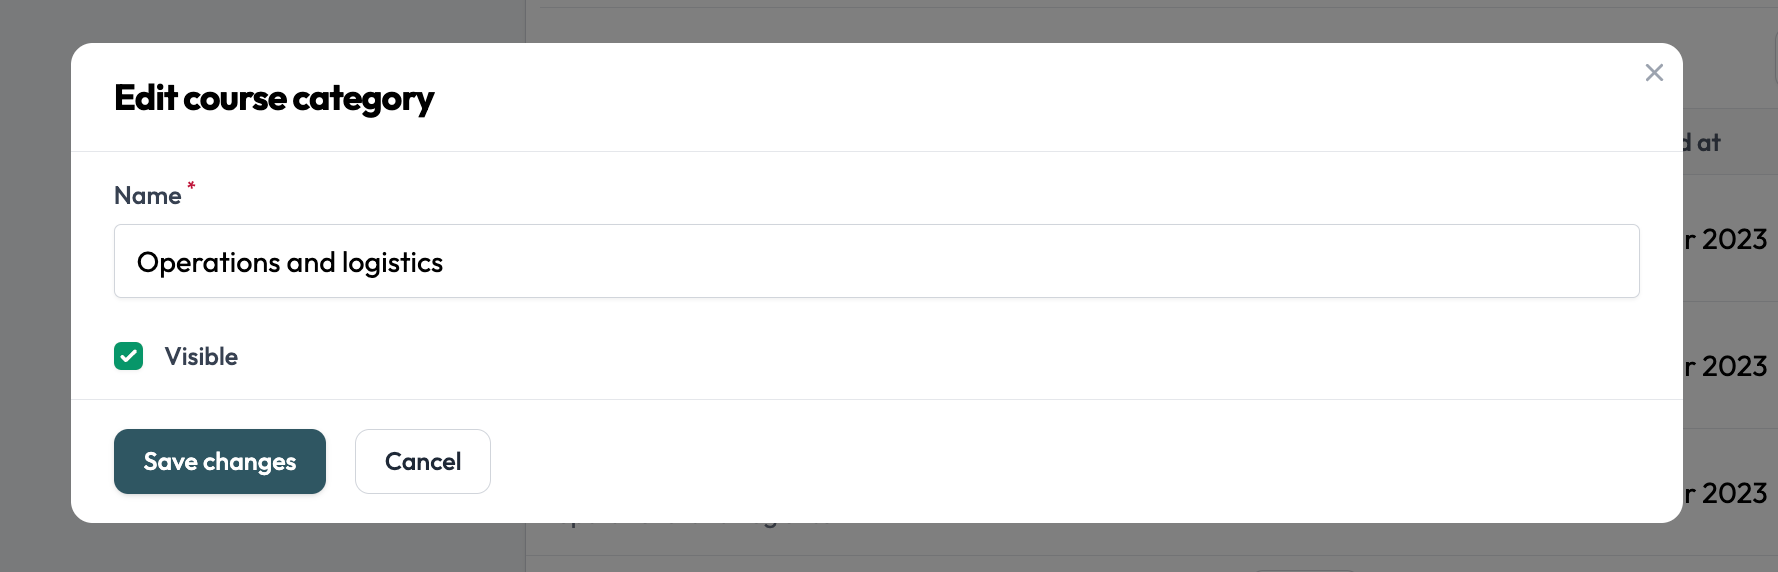
Editing an Existing Category:
- Edit Category: Find the category you want to edit and look for an "Edit" and "Pencil" icon next to it. Click on it to access the editing mode.
- Update Details: Modify the name, and visibility of the category
- Save Changes: After making the necessary updates, save the changes to the category.
Deleting a Category:
- Delete Category: Locate the category you want to delete and look for a "Delete" with "Trash" icon next to it. Click on it to initiate the deletion process.
- Confirmation: Depending on your platform, you might be asked to confirm the deletion. Confirm the action if prompted.
Tips and Considerations:
- Organizational Structure: Plan your categories to reflect the content organization that makes the most sense for your learners.
- Descriptive Names: Choose clear and descriptive names for categories to help users quickly understand their content.
Best Practices:
- Content Mapping: Continuously map new content to appropriate categories for easy navigation.